When you start a new business, creating something that fixes a real problem is key—but many companies find this hard to do. A shocking 42% of new businesses fail because they make products that don't meet what people want, as shown in a CB Insights report. To avoid becoming one of these failed companies, many business owners look forward to building a Minimum Viable Product (MVP). This plan involves making a simple version of your product with just the must-have features to test your idea with early users, get their thoughts, and make improvements before growing bigger.
A focus on the MVP can help startups save time and money while proving their ideas and adapting to market demands. What's more, an MVP gives a strong base to get investors interested by showing real users are using it. This guide will walk you through how to build an MVP step by step. We'll cover everything, from understanding your target audience, choosing what features to include, and making changes based on what early customers say. So, let’s get straight into it.
What is MVP and Why Should You Build it First?
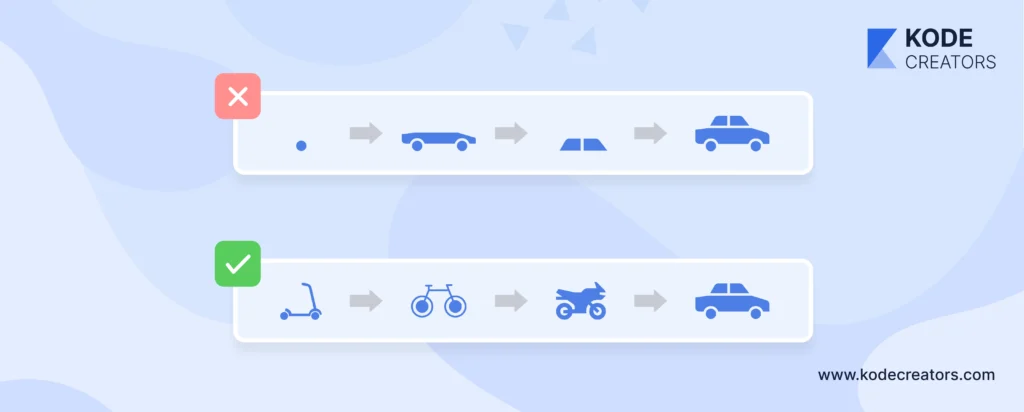
A Minimum Viable Product (MVP) is a simpler version of your product that includes only the key things you need to hit the essential needs of your audience. It’s not about perfect, it is all about function, just enough to a) have some value and b) to test the product idea with real people. An MVP allows startups to verify their concept without spending the time and money associated with a fully developed product, by focusing on the core features.
An MVP’s real value comes from giving actionable insights. An MVP allows businesses to learn early feedback, understand how users behave, and pinpoint where to improve, all while saving resources. In competitive markets where agility and adaptability are crucial for outpacing competitors, this is especially important. MVPs can also help lure early adopters and even investors by displaying a tangible product and evidence of market demand.
Assuming that you understand what users want is one of the biggest hurdles startups face. Too many businesses fail because of over-investing in features or products that don’t solve a real problem. Building an MVP minimizes misalignment, and saves you from building something that doesn’t need to be built, based on needs that have been validated, rather than based on guesswork. This is the first step towards building something people really want.
Step 1: Problem Validation and Market Research
Building a Minimum Viable Product starts with one crucial step: determining your product’s core problem, and validating it. Without this, you are bound to build a solution looking for a problem, a fate many startups fall into. Startup Genome reports that 29% of startups fail because they run out of cash before product market fit and often because they spend money on features or ideas that have no validated demand.
To validate the problem you need to immerse yourself in your target audience’s experiences. You take the survey, interview, or focus group to find out what the real problems are as well as the pain points. Let’s say that you’re creating a productivity app, then you can ask professionals what their biggest time management challenges are and what products don’t serve them well.
Market research complements this by revealing whether a substantial demand exists. Tools like SEMrush can help analyze search trends, while social media platforms like Reddit or LinkedIn provide unfiltered discussions about the problem space. Similarly, competitor analysis can highlight untapped opportunities. Look for gaps in their offerings—are they overcomplicating solutions? Are they ignoring a specific demographic? These insights can shape your MVP to meet needs that competitors might have overlooked.
Validating the problem and ensuring demand set the foundation for an MVP that solves real-world challenges while minimizing resource waste.
Step 2: Define Your Target Audience and Build Personas
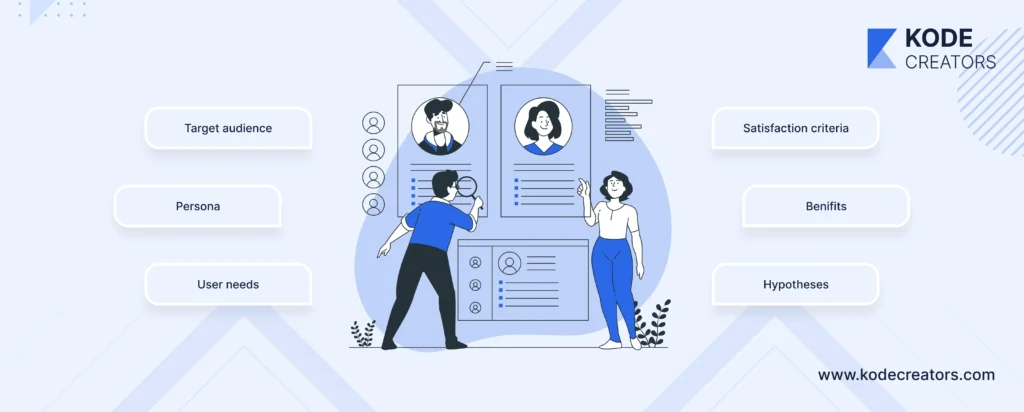
To build a successful MVP, you need a clear understanding of your target audience. Without it, even the best solutions risk being irrelevant. Research shows that 71% of companies that exceed revenue goals use buyer personas effectively, according to Cintell. Defining your audience and crafting personas ensures that your product resonates with the people it’s designed to serve.
Identifying Your Target Audience
Start by segmenting your potential users based on demographics, behaviors, and interests. Ask key questions like:
- Who are they? (age, gender, income, location)
- What are their habits? (online activity, purchase preferences)
- What challenges do they face? (specific pain points your MVP aims to solve)
You can collect this data through customer surveys, analyzing social media trends, or tools like Google Analytics to understand visitor behavior on your site.
Building Detailed Personas
Once you’ve identified your audience segments, develop detailed buyer personas. Here’s a step-by-step guide:
- Name and Picture: Give the persona a name and representative image to humanize them.
- Demographics: Outline age, occupation, education level, and geographic location.
- Pain Points: List the primary challenges they face that your MVP solves.
- Goals: Define what they aim to achieve and how your product helps them succeed.
- Behavioral Traits: Include insights into how they interact with technology or similar products.
For instance, if your MVP is a fitness app, a persona might be "Lisa, a 34-year-old working mom who struggles to find time for workouts and needs quick, effective exercises."
Step 3: Ideate the MVP Value Proposition
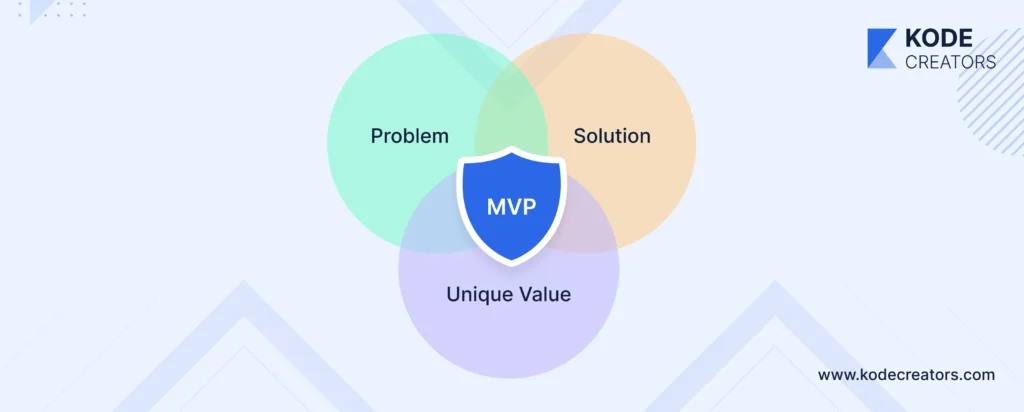
An MVP’s success hinges on a compelling value proposition—a clear statement that communicates the unique benefits your product delivers to its users. Without this clarity, your product risks blending into the noise of competing solutions. A strong value proposition not only highlights the core problem your MVP solves but also establishes why your solution is better, faster, or simpler than existing alternatives.
Crafting a Value Proposition
Start by addressing the three critical questions that form a strong value proposition:
- What problem are you solving? Pinpoint the core challenge your audience faces.
- How does your MVP solve this problem? Highlight the specific features or functionalities that deliver value.
- Why should users choose your solution? Emphasize the unique advantage your product offers over competitors.
For example, if you’re building an MVP for a budget-tracking app, your value proposition might be: “Empowering users to manage personal finances effortlessly with AI-driven insights and real-time notifications, saving hours of manual calculations each month.”
Using the "Jobs-to-be-Done" Framework
The Jobs-to-be-Done (JTBD) framework shifts the focus from what your product is to what it does for the user. It’s about understanding the job users “hire” your product to do. For example, people don’t buy fitness trackers for the technology; they buy them to stay healthy and achieve their fitness goals. Ask yourself:
- What functional needs does your product meet?
- How does it make users feel (emotional needs)?
- Does it support their long-term aspirations?
Step 4: Map Out the User Journey
A seamless user journey is critical to the success of an MVP. If users struggle to navigate your product or can’t achieve their goals easily, the MVP will fail to deliver valuable insights. Studies show that 88% of online consumers are less likely to return to a site after a bad experience, emphasizing the need for intuitive design and smooth interactions.
Importance of Mapping the User Flow
Mapping the user journey ensures that every step aligns with user expectations and leads them toward their desired outcomes. It helps identify potential friction points, whether during onboarding, performing key actions like sign-ups, or completing purchases. For example, if your MVP is an e-commerce app, a poorly designed checkout process could lead to cart abandonment—a common issue with an average rate of 69.8% across industries.
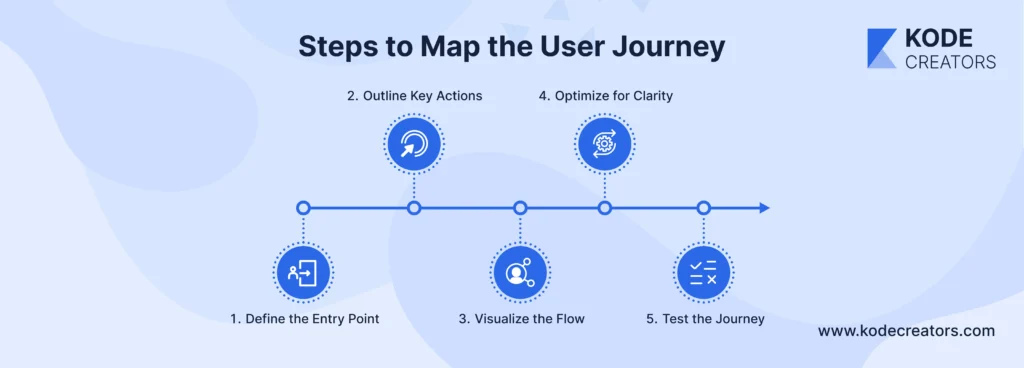
Steps to Map the User Journey
- Define the Entry Point: Start by identifying how users will first interact with your MVP—via a sign-up page, app download, or marketing campaign.
- Outline Key Actions: Determine the main tasks users need to complete to achieve value (e.g., creating an account, making a purchase, or scheduling a service).
- Visualize the Flow: Use tools like wireframes or flowcharts to map each step in detail. Include pathways for alternate scenarios, like errors or incomplete actions.
- Optimize for Clarity: Minimize the number of steps needed to complete critical tasks. For instance, simplify forms or integrate auto-fill options to save time.
- Test the Journey: Conduct usability tests to observe how real users navigate the flow and identify where they get stuck or frustrated.
A thoughtfully designed user journey not only ensures your MVP is easy to use but also sets the stage for meaningful engagement, allowing you to gather actionable feedback from early adopters.
Step 5: Prioritize Core Features Using the MoSCoW Method
Feature prioritization is at the heart of developing a successful MVP. Adding too many features early on leads to feature creep, which can inflate costs, delay timelines, and overwhelm users. In fact, poor prioritization contributes to 45% of failed product launches, as reported by the Product Management Insights survey. This is where the MoSCoW Method becomes invaluable.
What is the MoSCoW Method?
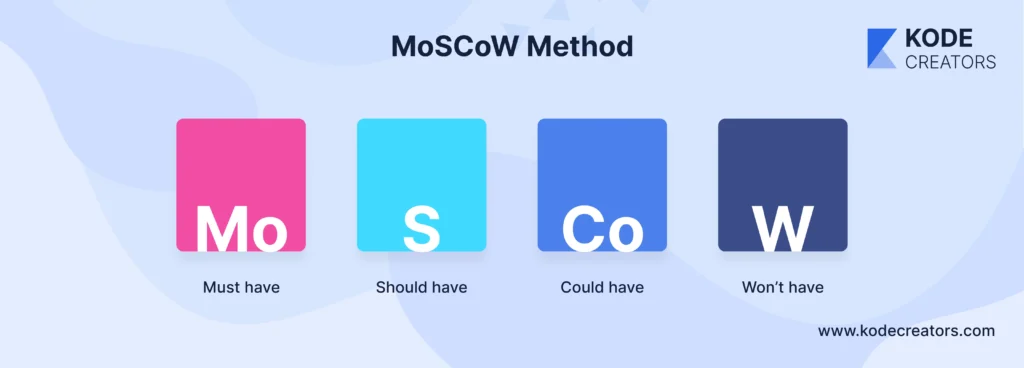
The MoSCoW framework categorizes features into four distinct groups:
- Must-Have: Essential features without which the MVP cannot function. For example, a ride-hailing app must have location-based ride booking.
- Should-Have: Important features that enhance usability but aren’t critical for initial functionality, like a review system.
- Could-Have: Nice-to-have features that can be added in future iterations, such as personalized notifications.
- Won’t-Have (for now): Features that don’t align with the MVP’s immediate goals, ensuring resources aren’t wasted.
Tips to Avoid Feature Creep
- Start Lean: Focus on delivering value with the smallest feature set. Tools like a Value vs. Effort Matrix can help weigh the impact of each feature against development effort.
- Validate Early: Use customer feedback or small-scale A/B testing to decide if a feature truly adds value.
- Stay Aligned with Goals: Regularly revisit your MVP’s primary purpose to ensure additional features don’t distract from it.
For instance, Airbnb’s initial MVP focused solely on listing and booking rooms, without later features like host ratings or experience bookings. This simplicity allowed them to test the market quickly while iterating based on real user needs.
Step 6: Choose the Right MVP Development Type
Selecting the right type of MVP is a critical decision that depends on your budget, target audience, and testing goals. The right MVP approach enables you to validate your idea with minimal investment while gathering actionable feedback. Here’s an overview of some common MVP types and their pros and cons.
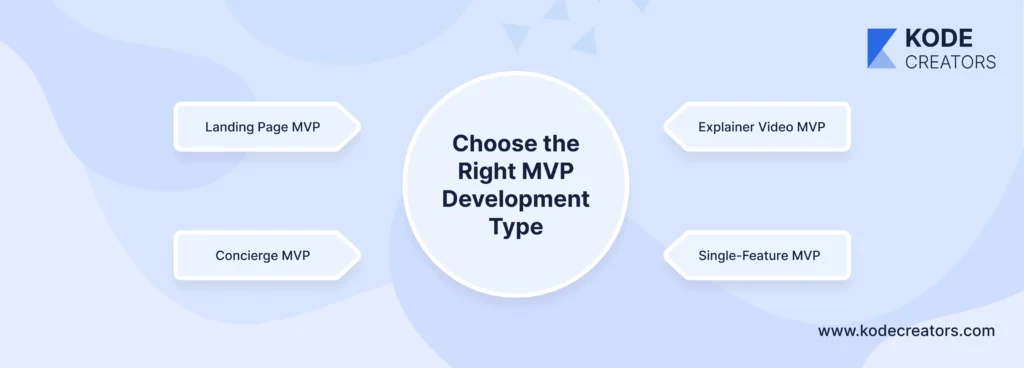
1. Landing Page MVP
A landing page MVP involves creating a simple website that explains your product and its benefits. Visitors can sign up, pre-order, or express interest, allowing you to gauge demand.
- Pros: Quick to develop, cost-effective, and excellent for validating demand.
- Cons: Limited insights on user experience or interaction with the actual product.
- Example: Dropbox used an explainer video on their landing page to measure interest before developing their product.
2. Concierge MVP
In a Concierge MVP, you manually provide the service or experience your product promises, simulating the actual solution.
- Pros: High-touch method to understand customer needs, no need for a functioning product.
- Cons: Not scalable, resource-intensive.
- Example: Zappos founder Nick Swinmurn initially purchased shoes from stores and shipped them to customers to test demand for an online shoe marketplace.
3. Explainer Video MVP
An explainer video showcases your product’s concept and value proposition. By tracking engagement and feedback, you can gauge interest without building the product.
- Pros: Great for testing ideas visually, minimal development required.
- Cons: Doesn’t capture actual user interaction with a product.
- Example: Dropbox’s animated explainer video helped them secure thousands of early adopters.
4. Single-Feature MVP
Focuses on building just one key feature of your product to test its viability.
- Pros: Provides real usage data, and allows for iterative improvements.
- Cons: Requires more time and resources than simpler MVPs.
- Example: Instagram started as a photo-sharing app, perfecting its core feature before adding others.
Choosing the Right Type
Consider your testing goals: If you want to validate demand, a landing page might suffice. If you need to refine the user experience, a single-feature MVP may be better. Similarly, a tight budget may steer you toward low-cost options like explainer videos.
Step 7: Build, Test, and Collect Feedback
The Build-Measure-Learn (BML) cycle, popularized by the Lean Startup methodology, is the cornerstone of developing a successful MVP. This iterative process enables you to create a functional prototype, test it in real-world scenarios, and refine it based on user feedback. According to a report by Gartner, over 80% of organizations that embrace iterative processes like BML achieve faster time-to-market for their products.
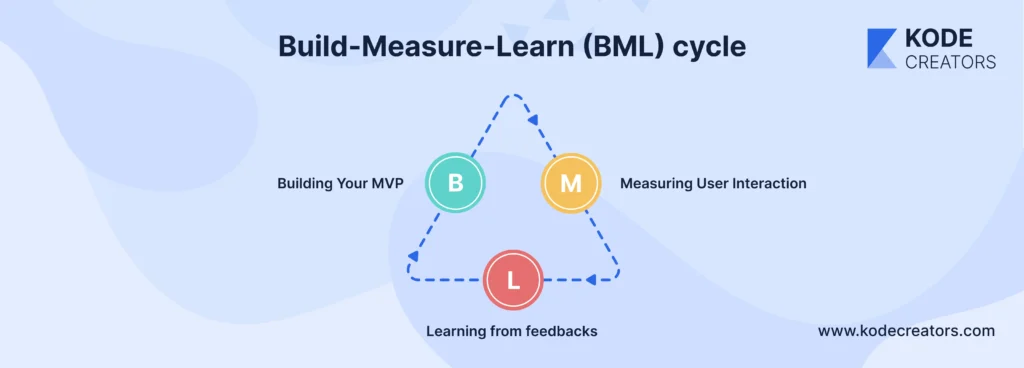
Building Your MVP
Focus on simplicity: your MVP should deliver just enough functionality to demonstrate value. Avoid overengineering by adhering to the core features identified during prioritization. Tools like Trello or Jira can help streamline development and keep the team focused on milestones.
Measuring User Interaction
Once your MVP is live, collect data to evaluate its performance. Use analytics tools like Google Analytics, Mixpanel, or Amplitude to track metrics such as:
- Engagement: Are users interacting with the product as expected?
- Retention: Do users return to your product over time?
- Conversion Rates: Are users completing key actions, such as signing up or making purchases?
Collecting Feedback
Direct user feedback is invaluable for identifying pain points and opportunities for improvement. Use channels like:
- Surveys and Polls: Platforms like Typeform or Google Forms can help you collect qualitative feedback.
- In-App Feedback: Features such as "Rate Us" prompts or comment boxes within the product provide real-time insights.
- Interviews: One-on-one conversations with early adopters can uncover deeper motivations and frustrations.
The Learning Phase
Use the data and feedback to identify patterns. Are there features users love or ignore? Are there technical issues causing drop-offs? For example, Slack's initial MVP was launched internally within a small team to identify usability issues before public release, which was instrumental in shaping its user-friendly design.
Step 8: Plan for Iterations and Future Development
An MVP is not a finished product but a foundation for growth. The insights gained during testing and feedback collection should guide your roadmap for incremental improvements. Research from McKinsey highlights that companies adopting iterative development see up to a 30% improvement in product success rates, emphasizing the value of gradual evolution.
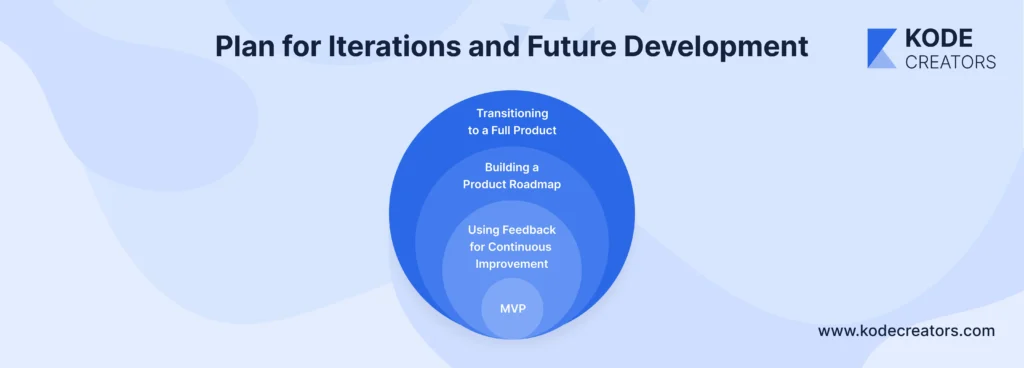
Using Feedback for Continuous Improvement
Feedback from users provides actionable insights into what works and what needs enhancement. Here’s how to leverage it effectively:
- Identify Patterns: Look for recurring themes in user feedback, such as common pain points or requested features.
- Prioritize Enhancements: Use frameworks like RICE (Reach, Impact, Confidence, Effort) to decide which improvements to tackle first.
- Test Updates: Implement changes incrementally and test their impact on user experience.
For instance, Instagram’s MVP focused solely on photo sharing, and early feedback revealed a demand for filters. By iterating, Instagram added this feature, significantly boosting its popularity and user engagement.
Building a Product Roadmap
A roadmap outlines how your product will evolve over time. Start by defining short-term, medium-term, and long-term goals:
- Short-Term Goals: Address critical issues and refine core features.
- Medium-Term Goals: Expand functionality and introduce "should-have" features from your MoSCoW list.
- Long-Term Goals: Plan for scalability and diversification, such as entering new markets or integrating advanced technology.
Transitioning to a Full Product
Validated learnings from your MVP can inform larger development efforts. For example:
- Use retention data to prioritize features that encourage user loyalty.
- Identify high-demand features to guide marketing strategies for your next release.
Common Pitfalls to Avoid
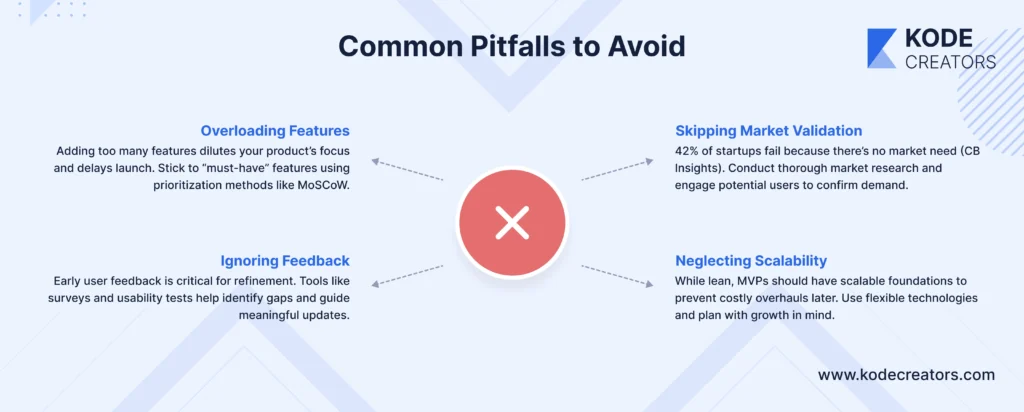
Building an MVP is challenging, and avoiding common mistakes is crucial for success.
- Overloading Features: Adding too many features dilutes your product’s focus and delays launch. Stick to "must-have" features using prioritization methods like MoSCoW.
- Skipping Market Validation: 42% of startups fail because there’s no market need (CB Insights). Conduct thorough market research and engage potential users to confirm demand.
- Ignoring Feedback: Early user feedback is critical for refinement. Tools like surveys and usability tests help identify gaps and guide meaningful updates.
- Neglecting Scalability: While lean, MVPs should have scalable foundations to prevent costly overhauls later. Use flexible technologies and plan with growth in mind.
Key Lesson: Stay customer-focused. Validate demand, prioritize simplicity, and act on feedback to avoid wasting resources and maximize impact.
Conclusion:
A Minimum Viable Product (MVP) development is about more than just the act of creating a product — it’s a strategic way to build a product that serves real customer needs and minimizes risk. Since this is a very iterative process, it’s important to validate the problem define your target audience, get feedback, and iterate on it all. Adaptability, patience, and continuous improvement are all important for this journey, and they will also require you to keep improving your MVP to get it right.
Once you move forward, use what you learned from your MVP to shape further development. Iterate on your features according to the user’s feedback, look for ways to scale, and be ready for a key growth step like securing funding or entering a new market. But remember, the MVP is not the endpoint – it’s actually the principle of saying where we start to build a sustainable and successful product. Only by being customer-focused, and embracing iterative development, can you put your startup on the road to long-term success.
